Quick start
This page takes the shortest path: one hub and one rbAmp STD-UI1 energy meter on your supply (or an STD-U3I3 for a three-phase supply). Each step links to the full description. The whole walk-through with explanations is in Scenario: one main meter.
You need: an ESP32-WROVER board with PSRAM and 16 MB flash · an rbAmp STD-UI1 or STD-U3I3 with its sensors · a USB cable · a computer with Python (for esptool) and curl · your home Wi-Fi name and password.
Install with the power off, and have mains work done by a qualified electrician.
1. Wire the meter
- Set the module's interface switch to I²C before you power it: the module reads the switch only at power-on.
- Mount the sensors on the supply conductor(s), each on the channel it's labelled for, with the arrow pointing in the import direction. Connect the voltage input through a fuse (STD-U3I3: N, L1, L2, L3).
- Connect the module to the hub with four wires: the module's VIN to the board's 5 V/VIN (not 3.3 V), GND, SDA to GPIO25 and SCL to GPIO26. Keep the cable up to 15 cm and leave the module's pull-ups as they are.
- Leave the module at its factory address 0x50: that's how the hub finds it as your grid input.
Details: Hardware, the rbAmp STD wiring guide.
2. Flash the firmware
Download the four files from the latest release and run the esptool command from the release notes. → Build & flash
3. Put the hub on your Wi-Fi
Join the hub's own Wi-Fi rbgrid-xxxx with the setup password from the release notes, open http://192.168.4.1, choose your home Wi-Fi (2.4 GHz) and enter its password. The hub joins your network and keeps its own Wi-Fi on.
Find its new address: open http://rbgrid-xxxx.local/ (the same four characters as its Wi-Fi name; works on Windows, macOS and iOS), or look at http://192.168.4.1 again, or in your router's device list.
4. Open the web app
On a computer on the same network, open webapp.rbgrid.io in Chrome or Edge, enter the hub's address in Device IP or URL, choose Connect, and allow local-network access when the browser asks. Or install the app on the hub from rbgrid-ui_<version>.zip in the same release. → Opening the app
5. Run the setup wizard
The app opens on the Overview with a banner: The hub still has its factory settings. Choose Set up → (the wizard is also in the menu under System → Setup wizard). → First setup: the wizard
- Connection: shows the hub you're connected to. Next.
- Security: set an API token and write it down. (Optional, but recommended.)
- Site & time: pick the scenario Home, give the site a name, choose your Time zone, and check that the time shows synchronized.
- Sensors: the hub has already made your STD meter the grid input (plus a voltage point). Nothing to bind for this scenario.
- STD-U3I3: in Points, on the module card choose Use as the three-phase input and restart the hub. We recommend setting Settings → Mains to Three phase too.
- Tariff: enter your price per kWh (and a night price if you have one), as on your bill. Check the VAT, %: a new hub starts with the factory example's 21 %. Save it. (App v1.1.3 first asks Replace the hub's tariff? here: choose Replace.)
- Integrations: skip, or set your MQTT broker for Home Assistant later. → MQTT broker
- Done: All set needs a site name, a synchronized clock, your tariff and at least one point; the time zone and the token are optional. Choose Go to overview.
6. See it working
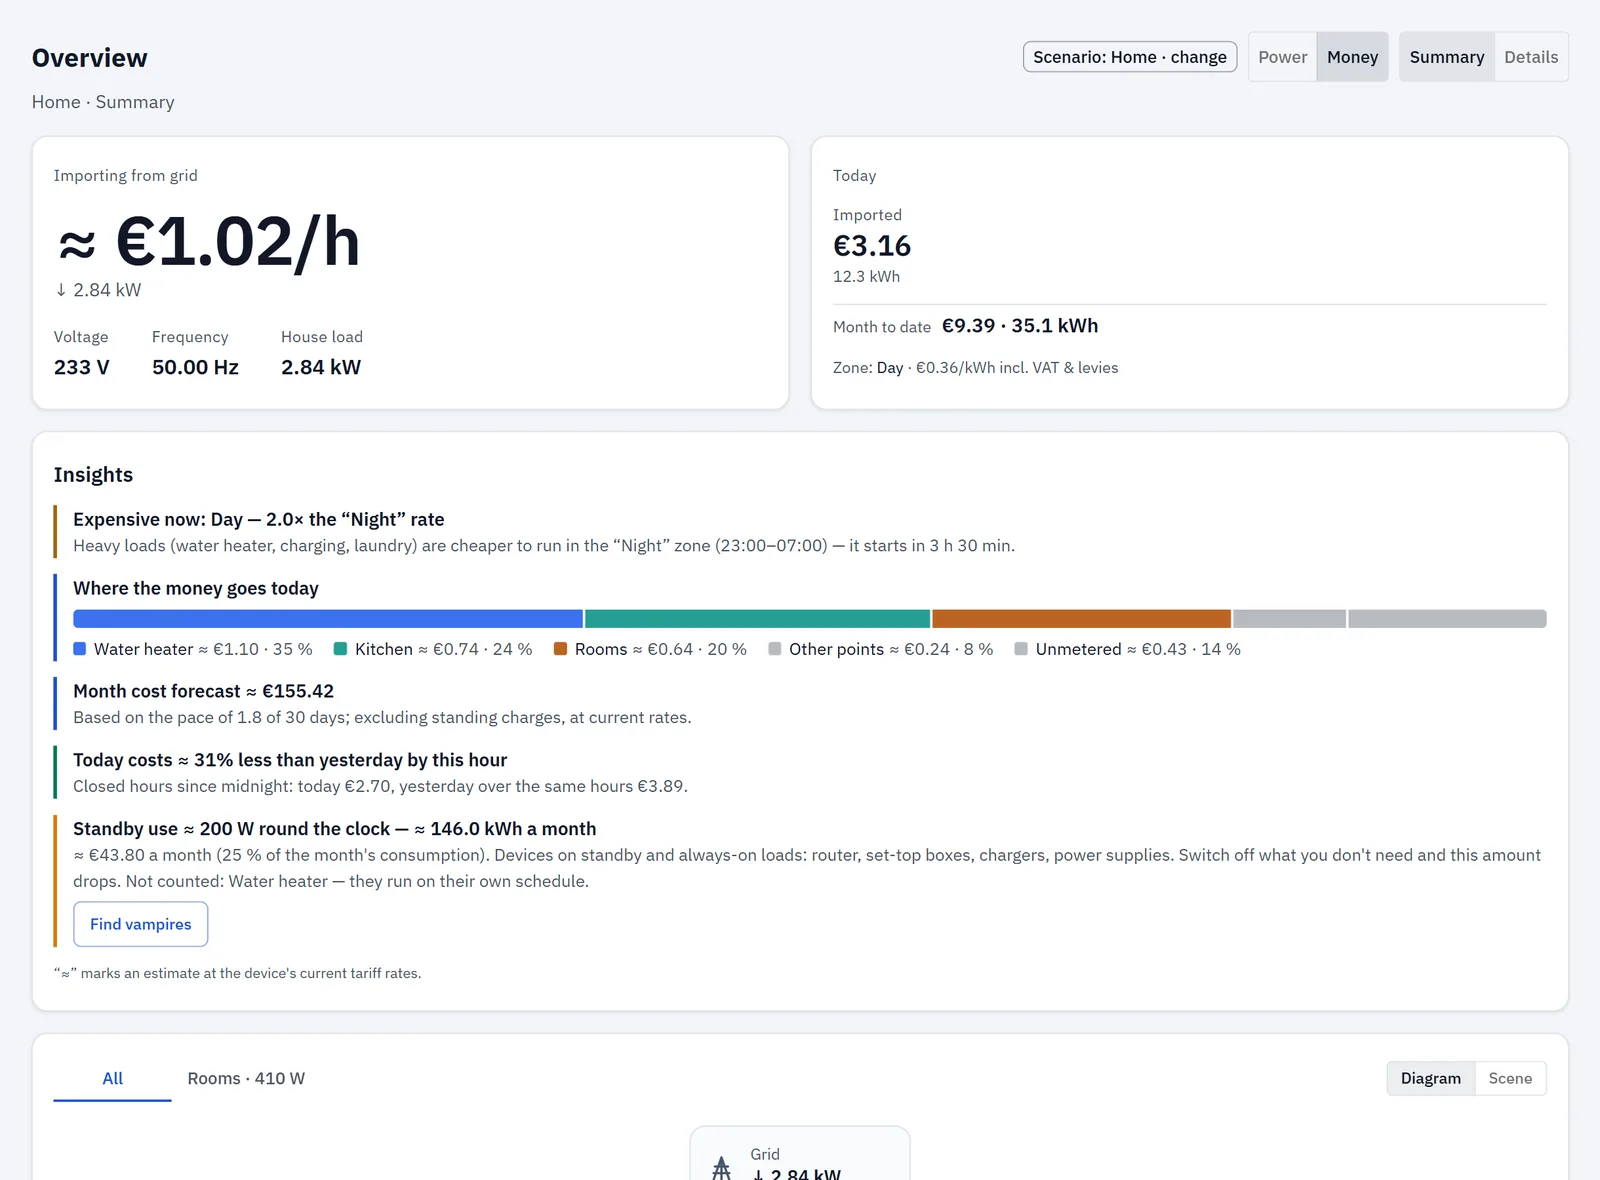
The Overview shows what you import from the grid right now, in watts and in money per hour, the tariff zone you're in, and today and month to date. → The Overview
7. Make it yours
- Change the hub's access-point password in Settings → Hub access point, and set an API token if you skipped it. The app's warning goes away only when both are done. → Settings
- Add rbAmp Basic modules to measure single circuits, one new module at a time. → Sensors and modules
- After adding points, restart the hub so they start keeping history. → Points
- Refine your tariff: zones, taxes, fees, VAT, export price. → Tariffs